How to REAMP - Guide by Radial Engineering
By Front End Audio on Jul 10th 2018

For those of you that are interested in Reamping guitars, but haven't tried it, or maybe you have and feel you are not getting the most out of it. Well, Radial Engineering wrote this great "how to" article to help you along, in the world of reamping.
How to Reamp for a Perfect Tone
Getting a good guitar tone is easy, settling on the perfect tone is impossible until you can hear it in the context of the mix. A popular adage with recording is “garbage in – garbage out”, implying that you’re doomed if you mess up the tracking process, but what if there’s a way around this?
The solution: Reamping.
As the name implies, it’s where you take a pre-recorded track and “re-amplify” it back through a speaker to achieve a tone that properly suits the song. It sounds arduous and time-consuming, but bear with me here: this process could actually save you tons of time and revolutionize the sound of your music. We’ve all been there: you get the inspiration to record a riff or song idea, but end up spending unnecessary time tweaking your amp, setting up mics, etc. By the time you’re ready to record you’re more focused on the tone than the music itself. Worst of all, the sounds you capture don’t work in the context of the final mix! By simply placing a DI Box between your guitar and your pedals or amp, you can preserve an unaffected guitar performance that might end up saving you having to re-record the part over again.
Reamping lets you:
- Not worry about recording a bad tone.
- Focus on performing.
- Open up a world of creativity.
Best of all, reamping isn’t just for guitarists. It was actually first used by bassists and the concept can apply to any audio clip you might have. Let’s get started!
Step 1: Capturing a track for reamping
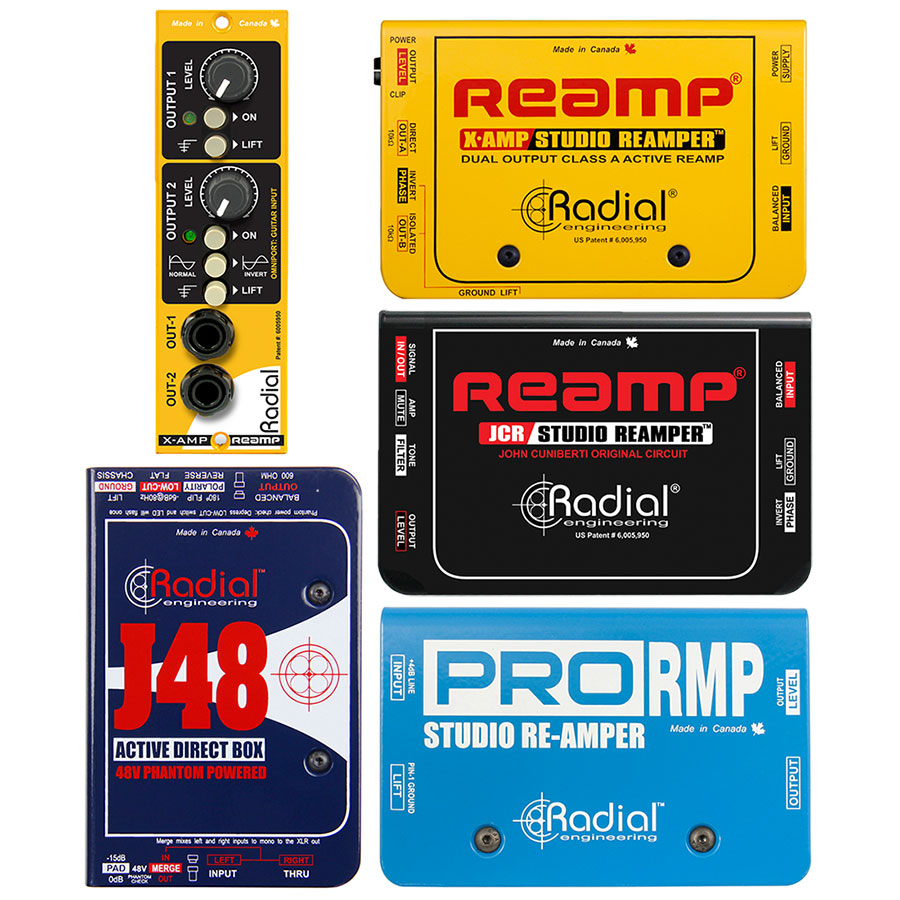
To get the best results when reamping, you need a crystal-clear recording of the instrument. The best way to do this is to use an active direct box such as the Radial J48.
Rather than plugging directly into your interface, using an active DI has many benefits. The J48 tends to add more “air” to the sound of direct instruments by preserving high frequencies that sometimes get lost when using low-quality circuitry. Instead of your interface receiving an instrument-level signal, a DI will send the signal at mic-level, allowing your interface’s preamp to do all of the heavy lifting.
By using a DI box such as the J48, you can also still connect to your favorite pedals, amps and microphones using the “thru” output. Thus, you will record two tracks simultaneously: one clean DI track and one affected guitar track. This lets you record with the tone you’re used to while also giving yourself options in the future.
Step 2: Reamp the track and capture it again.
So now you’ve finished tracking all the instruments and you’re mixing the song, but somewhere along the way your heavily distorted amp stopped sounding good in this song. No worries! It’s time to put that nice clean DI track to use.
In your DAW, set the output of the DI track to a separate output (i.e Output 3 if your monitors are connected to Output 1 & 2). Now connect this separate output into a Reamp box. This step is often missed when people are reamping, but is crucial to getting professional results.
A Reamp box converts the balanced line level signal of your interface into an unbalanced instrument level signal with the proper impedance to be sent through guitar effects. If you don’t believe that this step is necessary, check out the comparison video by Creative Sound Lab (at the bottom of the article).
Radial purchased the Reamp brand in 2010 from John Cuniberti, who first commercialized the design. We’re now the leaders in the reamping market and make multiple products perfect for this process. For introductory reamping, the ProRMP is a passive solution with a simple gain knob and ground lift switch. The original John Cuniberti design is preserved in the Reamp JCR with a custom wound transformer. Our most popular reamper, the active X-Amp allows users to send two reamp tracks at once for extreme experimentation. If you are a 500 series user, the X-Amp 500 module is available.
Now send the signal from the Reamper into whatever gear you have laying around the house and record it as you would have originally. A helpful tip is to loop the track as you’re reamping – allowing you to adjust tone knobs, effect pedals and mic placement to get that “sweet spot” before hitting record.
If all you aspire to do is send tracks through effect pedals such as a vintage Roland Space Echo, the Radial EXTC might be a better option for you. (500 series users, check out the EXTC 500). This box allows you to send the track through multiple effects loops and even choose how much of the dry signal is retained – essentially letting you turn any guitar pedal into a parallel hardware insert. Remember, this process takes practice and you’re not going to be a reamping god overnight!
Note: If you only have a 2×2 (2 inputs, 2 outputs) interface, Reamping is still possible. You will need to record, listen back, tweak, and record again. We recommend using an interface with more than 2 outputs so you can monitor the reamped track in real-time.
Conclusion
So there you have it! Reamping not only saves you (and other musicians’) time, it reduces stress and makes it possible to dial in the perfect tones when it matters most.


 Sign Up for exclusive sales and offers!